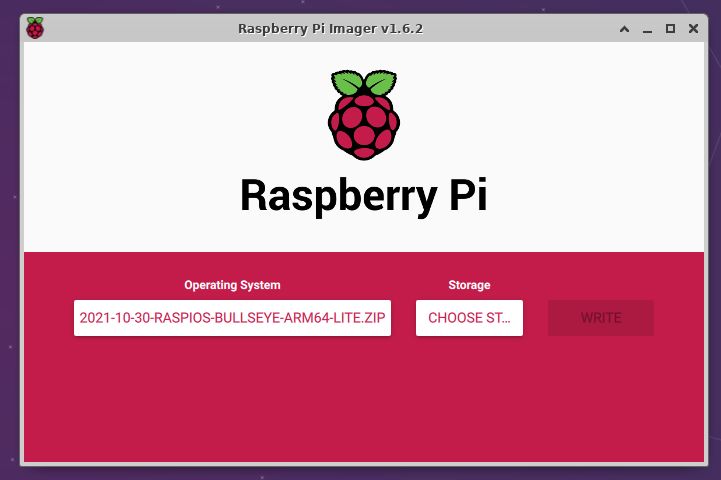
A very cool hack from NetworkChuck is before writing the changes, hit Ctrl + Shift + x to go into a new menu with some extra options including activating secure shell (SSH) access to the Pi from a different computer.
Once done, just insert the card into the Pi and use an ssh connection from a different computer to login into the Pi: username “pi”, password “raspberry”.
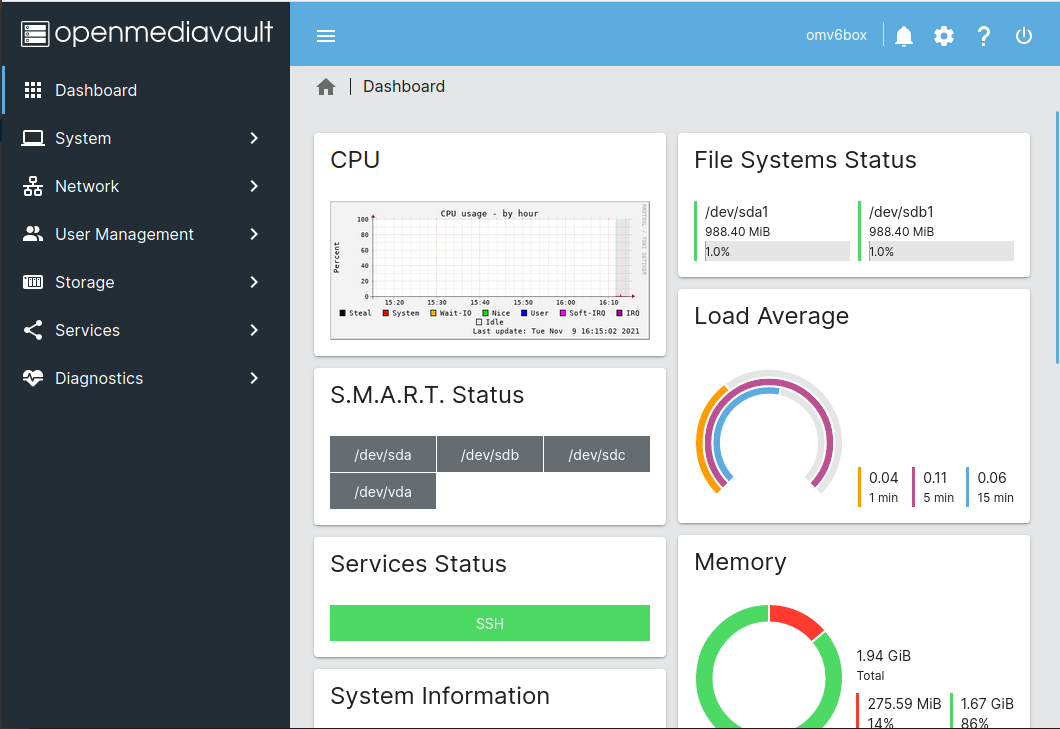
Once installed, open a web browser page and go the IP address of the Pi (router setting might be helpful to find it).
Open Media Vault web interface – credits https://www.openmediavault.org
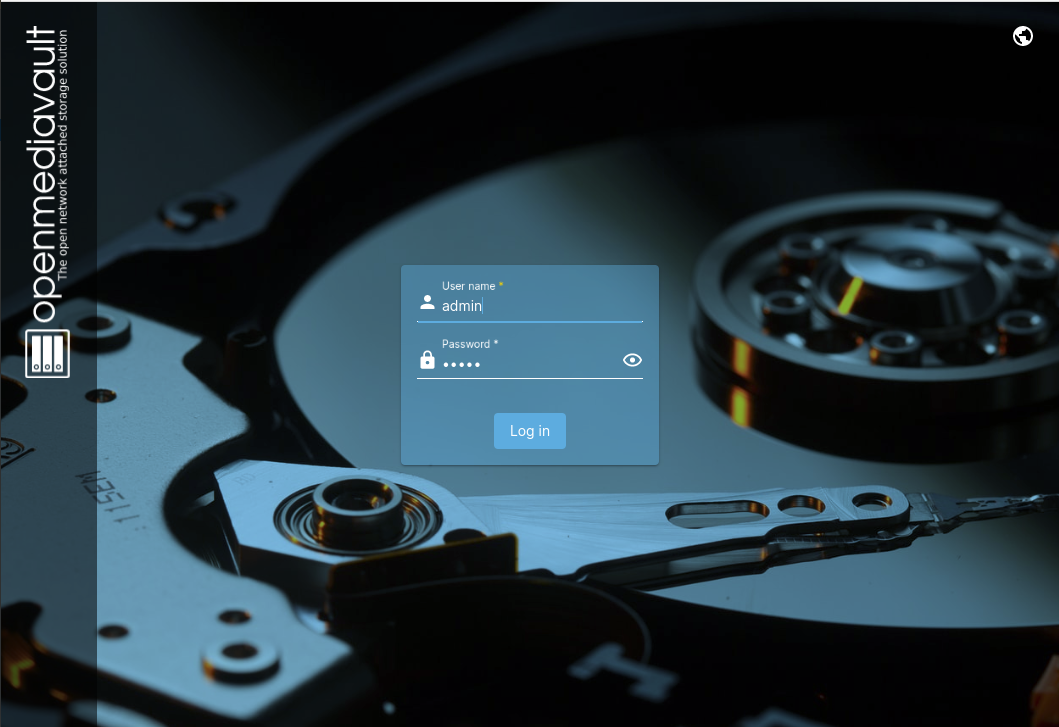
Default username is “admin” and the default password is “openmediavault”.
The interface is quite straightforward to use. Some initial tweaks might be in order like changing the default password, mounting the disks in the Storage option, creating a file system and enabling SMB and/or NFS.
Main options
Some user credentials setup will be useful for accessing the drives.
If there are existing folders on the HDD, just create a share with the same name as the existing folder.
Step 3 Install plex on the NAS {#step-3-install-plex-on-the-nas.wp-block-heading}#
Plex logo – credits Wikipedia, Plex Inc. – Plex Media Server
Install the GNU/Linux transport software that allows the use of repositories accessed via the HTTP Secure protocol (HTTPS), also referred to as HTTP over TLS.
echo deb https://downloads.plex.tv/repo/deb public main | sudo tee /etc/apt/sources.list.d/plexmediaserver.list
Update repositories and install the plex media server:
sudo apt update
sudo apt install plexmediaserver
To access the web interface for plex, open a web browser and input the Pi address with the default port for the plex server. For example:
192.168.1.21:32400/web
Sign up or sign in to plex and add the raspberry pi NAS to the sources.
Plex interface
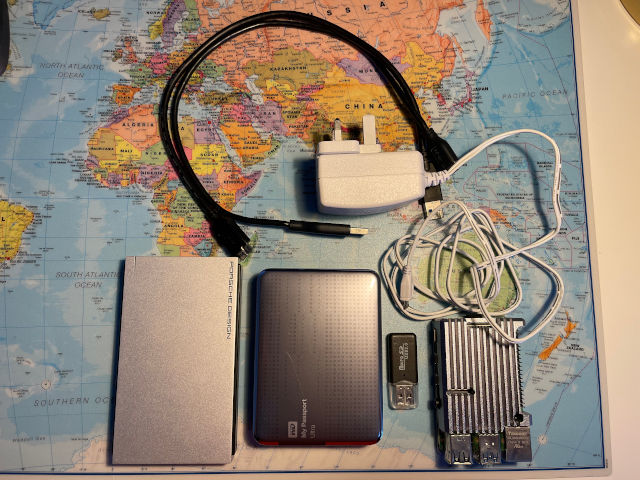
Raspberry Pi is a great little computer that is more than capable of providing entertainment for home and backing up those beautiful memories on a very functional NAS.